
A game that freezes, refuses to load, or throws a disc-read error does not automatically mean the console is dying. Before you start shopping for a replacement drive, inspect the disc and clean it with the least aggressive method that the console makers themselves recommend.
The goal is not to make an old disc look brand new. It is to remove fingerprints, dust, and ordinary grime without adding scratches or chemical damage, then use a simple comparison test to learn whether the disc or the console is the more likely problem.
Start with the disc, not a bottle of cleaner
Nintendo's GameCube and Wii disc-cleaning instructions are unusually specific: use a clean, soft cotton cloth, use water only, and avoid solvents such as window cleaner, paint thinner, benzine, anti-static spray, and abrasive cleaners. Nintendo also warns against machines marketed for disc cleaning or scratch removal because they can damage the surface.
That conservative approach is a good default for ordinary dirt. You do not need to turn a fingerprint into a chemistry project.
1. Inspect the disc before you wipe it
Hold the disc by its edges and look at the readable side under normal indirect light. Fingerprints, dust, and light smudges are reasonable cleaning targets. A crack near the center hub, a deep gouge, peeling layers, or obvious structural damage is different. Cleaning cannot repair a physically failing disc, and putting a cracked disc into a spinning drive is not worth the risk.
Do not drag a fingertip across the readable surface to decide whether a mark is deep. That adds oil and can create more fine scratches.

2. Use a soft cloth and a little water
Dampen a clean, soft cotton cloth with water. It should be damp, not dripping. Wipe the non-label side with straight strokes from the inside rim toward the outside edge. Do not polish around the disc in circles.
That direction matters because it avoids following the same circular path as the data track. Nintendo tells owners to use straight inside-to-outside strokes, and PlayStation's PS4 disc troubleshooting similarly says to wipe from the center toward the edge with a soft, clean cloth.
3. Dry it the same way, then give it time
Use a dry section of the cloth and repeat the same center-to-edge motion. Nintendo recommends letting the disc sit for at least two minutes after visible water is gone before putting it back in the console.
Do not rush that step by heating the disc. A hair dryer, heater, direct sun, or other heat source introduces a new problem when all you wanted was a dry piece of plastic.
4. Test the cleaned disc once
Reinsert the disc and try the same area that was failing. If it now loads reliably, stop there. More polishing is not an upgrade. Every unnecessary cleaning pass is another opportunity to add wear.
If the same game still fails, the next test is more useful than repeatedly scrubbing it.
5. Try another known-good supported disc
PlayStation's troubleshooting instructions recommend testing another game, Blu-ray, or DVD when a PS4 has reading trouble. The logic works more broadly: compare the failing disc with another compatible disc that you already know works.
- Only one disc fails: the evidence points more strongly toward that disc, its condition, or its specific format.
- Several known-good discs fail: the console, optical drive, software state, or another system-level issue becomes more plausible.
- One format fails but another works: do not assume the entire drive is dead. Some consoles use different laser behavior for different disc formats, so the pattern itself is useful diagnostic information.
This is why a clean-disc test is better than jumping straight to a repair conclusion. It gives you a second data point.
What not to do
Skip paper towels, facial tissue, household glass cleaner, abrasive compounds, and mystery liquids from a kitchen cabinet. Do not use a scratch-removal machine simply because a disc has a few marks. Nintendo explicitly warns that such machines can damage discs.
Also avoid the old habit of wiping in circles. If you are cleaning, use straight strokes from the center outward.
When cleaning is no longer the right answer
If the disc is cracked, badly gouged, delaminating, or still fails after one careful cleaning while other discs work normally, cleaning has done what it can. At that point the sensible choices are replacement, a reputable professional evaluation, or testing the disc in another compatible system if you have one available.
If multiple known-good discs fail, move your attention to the console. For a used PS3, our used-PS3 testing guide gives you a repeatable sequence for checking the drive alongside storage, controllers, video output, and other hardware before the return window closes.
Store the disc so you do not have to clean it again
Put discs back into a proper case after use. Keep the readable surface off tables and shelves, and avoid heat, high humidity, and direct sunlight. Most disc care is boring, which is exactly what you want. A game that spends its life clipped into a case needs far less rescuing than one stacked loose beside the console.
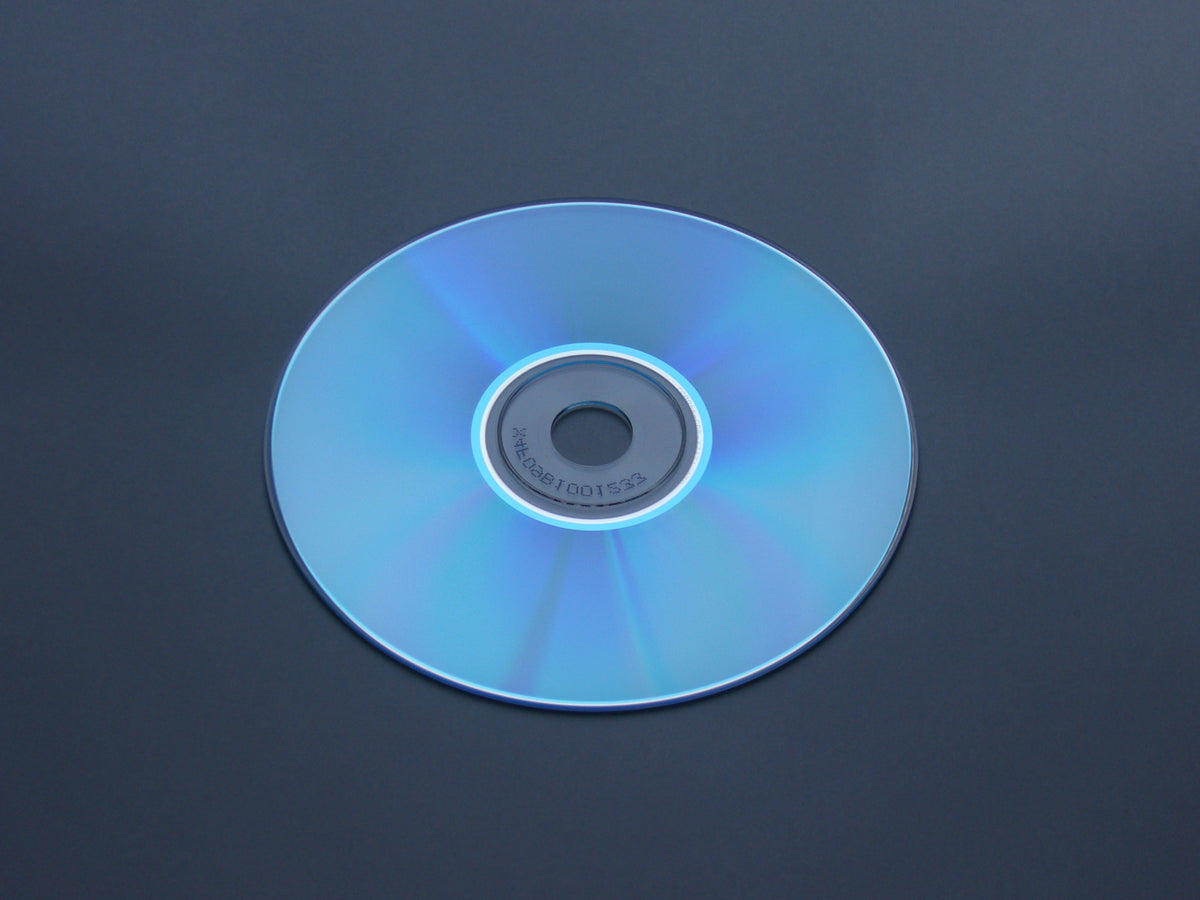
Sources checked October 14, 2026: Nintendo Support and PlayStation Support. Featured optical-disc photo: Asanagi, CC0. Scratched-disc example: public domain. The photographs illustrate optical-disc surfaces generally and are not presented as specific game discs.


