A dark Switch screen is not proof that the console is off. Before removing a microSD card, use the actual shutdown option. Nintendo explicitly includes sleep mode in its warning about removing or inserting the card while the system is still powered.
This guide covers the original Nintendo Switch family: Nintendo Switch, Switch Lite and Switch OLED. It focuses on handling the memory card and recognizing the limits of a basic inspection. Switch 2 has a different storage requirement, and this is not a guide to its microSD Express slot.
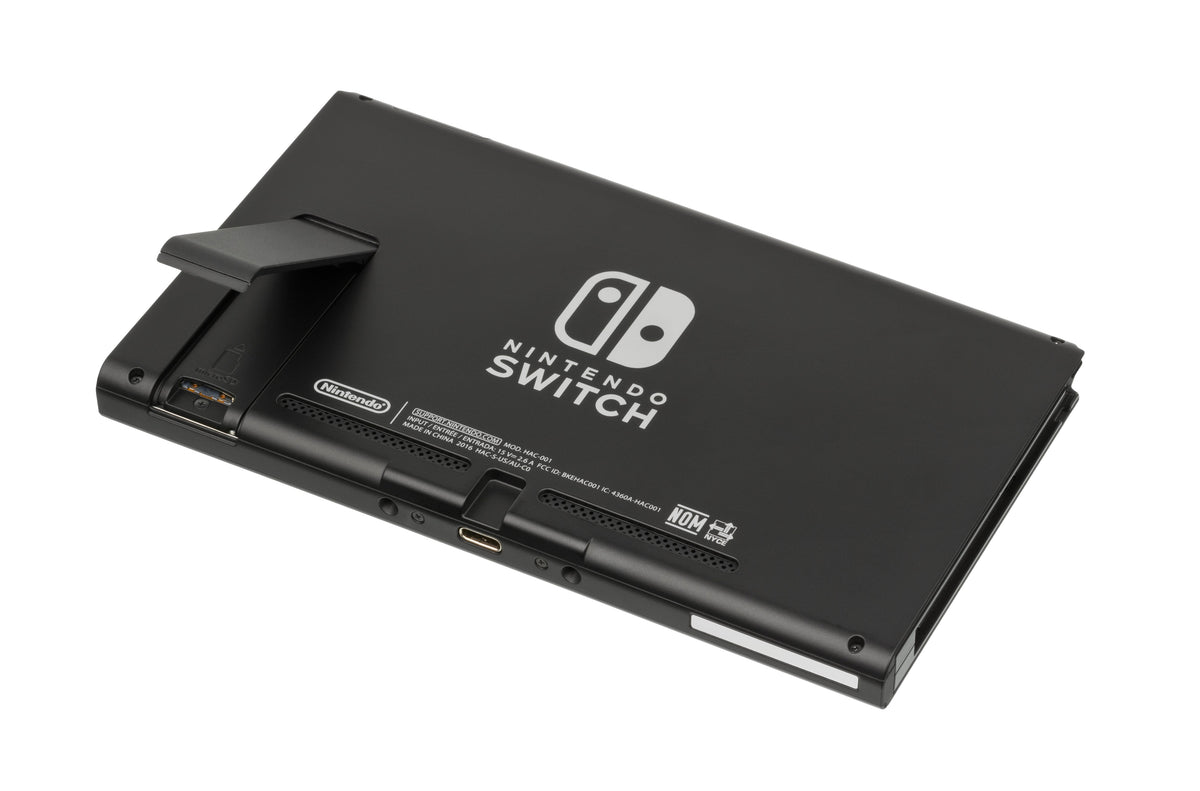
Featured hardware photograph: original Nintendo Switch with its stand open and Joy-Con removed. Evan-Amos, public domain. Reference image, not a new Zypher repair or test.
Shut down through Power Options
Nintendo’s microSD troubleshooting instructions say to shut the console off before inserting or removing a card. If you do it while powered on or in sleep mode, Nintendo says the console will prompt for a restart. For a routine card swap, there is no reason to provoke that restart message. Shut down first.
Finish and save through your game’s normal save process first. Then follow Nintendo’s shutdown sequence:
- Hold the console’s POWER Button for at least three seconds.
- Select Power Options.
- Select Turn Off.
The distinction is the menu command. Use Turn Off rather than stopping at sleep mode; an unlit screen does not identify the power state by itself. If the console is not responding normally, use Nintendo’s applicable power troubleshooting rather than improvising a card-removal test.
Find the slot for your model, then eject gently
Nintendo’s model-specific card instructions identify three access points within this family. On the original Switch, gently open the rear stand. On Switch Lite, open the microSD slot cover. On Switch OLED, open the wide adjustable rear stand. Match the hardware in your hands before following a photograph.
With the console off, Nintendo’s removal instruction is to gently press the top of the microSD card until it clicks, then slide it out. This is not a request to pull against the latch. Keep the action gentle; if the mechanism is not behaving as described, stop rather than escalating the force.
For a used-system inspection, our advice is to distinguish access from repair. Opening the intended stand or slot cover is the supported access step. Removing the rear housing, levering a stuck card or working inside the reader would be a different job. Nothing in this routine requires those actions.

A microSD card is not your game-save backup
Nintendo’s Data Management FAQ separates game progress from software storage. Switch save data stays in system memory whether the game is downloaded or played from a game card. It cannot be saved or copied to microSD.
The memory card can instead hold downloaded software, updates, DLC and captures. That means identifying a card as “the one with my games” is not the same as identifying a backup of your progress. Before changing consoles or clearing storage, work out which type of data you are dealing with.
A physical copy such as Super Mario 3D All-Stars for Switch belongs to a separate part of that ownership picture. Keep the game card, the memory card and the console’s save storage distinct when planning a collection or a hand-me-down. Putting one object safely in a case does not account for all three.

Read the card type before buying a replacement
The original-family microSD FAQ lists microSD up to 2 GB, microSDHC from 4–32 GB and microSDXC from 64 GB–2 TB. Full-size SD and miniSD cards do not fit this console’s slot. Nintendo separately identifies microSD Express as the requirement for Switch 2 software storage.
Read the format and capacity markings rather than shopping by a picture of a small black rectangle. A familiar brand name does not identify the format, and a memory-card photograph in an article is not a tested recommendation for that exact unit. The image below is there to make the printed microSDHC label recognizable.

Visible contamination and formatting deserve a stop
Nintendo’s troubleshooting page includes checking the slot and card connectors for contamination. Its stated response to visible contamination can involve replacing the card and sending the console for service. It does not supply a solvent, scraping or powered-cleaning procedure for the reader. This guide does not invent one.
Keep formatting separate from that physical inspection. Nintendo warns that formatting makes the card’s stored information unrecoverable and tells owners to back up screenshots and videos first. The Format command is not a polite way of asking the card what is wrong.
Our practical recommendation is to stop at the point where an action would erase data or become a repair. Use the linked manufacturer instructions for the actual symptom, and preserve anything you need before a destructive step. This handling guide is not a complete card migration, recovery or console-transfer procedure.
Put your next Switch game on the Zypher shelf
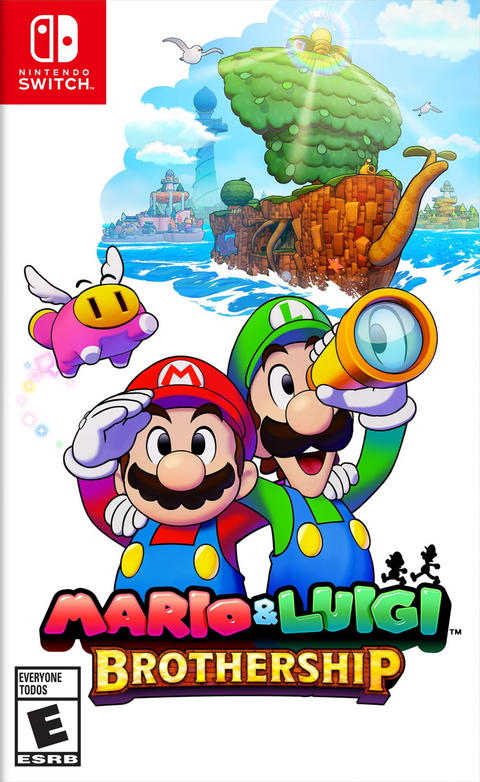
Buy your next physical game from Zypher Trading Video Games. Check the verified Super Mario 3D All-Stars and Mario & Luigi: Brothership for Nintendo Switch listings. Read the selected copy’s condition and included contents before ordering. These are game listings, not offers for a console or memory card.
Shop Zypher’s current games, or sell your old games to Zypher and check current eligibility. Manufacturer guidance, image licenses and listings checked November 3, 2026. Inspection and buying suggestions are Zypher editorial advice; photographs are reference hardware, not before-and-after results.