Cartridges look durable, but the connector edge, label, plastic shell, and internal board do not all tolerate the same treatment. The safest cleaning method is deliberately conservative: start dry, keep every liquid away from the label and seams, and stop before a cosmetic problem becomes permanent damage.
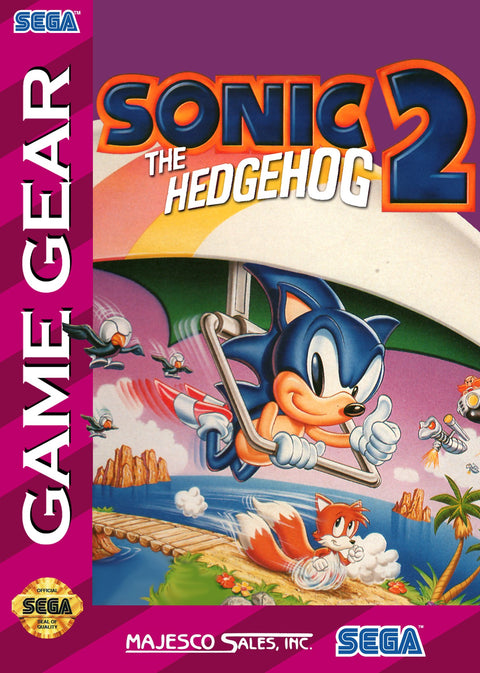
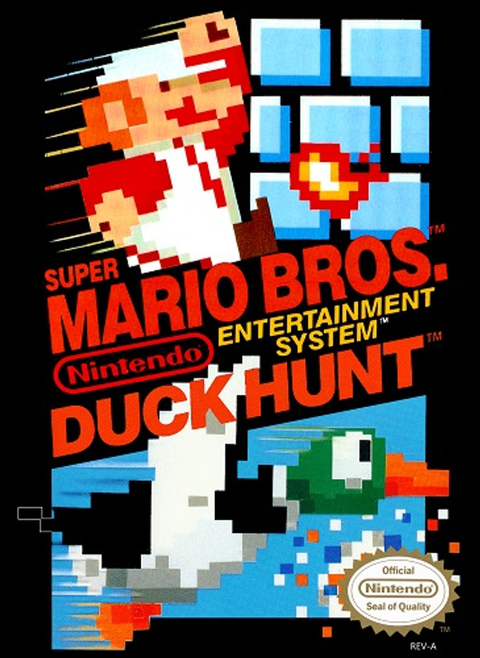
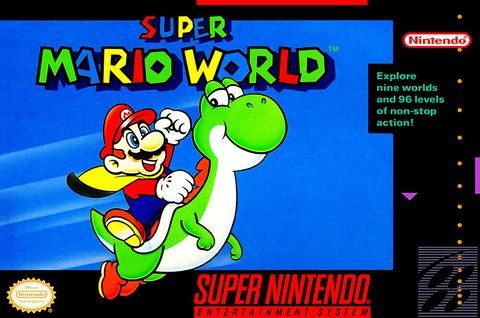
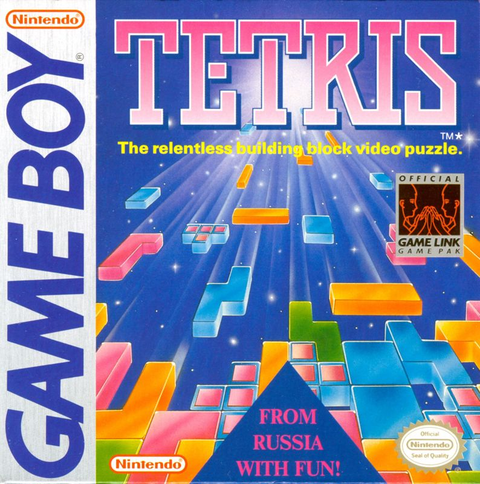
That matters whether you are handling a full-size cart such as Super Mario Bros. / Duck Hunt for NES or Super Mario World for SNES, or a compact handheld cart such as Tetris for Game Boy and Sonic the Hedgehog 2 for Game Gear. The shell may change, but clean handling and careful inspection always come first.
The short version
- Turn the console completely off before inserting or removing a cartridge.
- Hold the cartridge by its plastic shell, not its connector.
- Inspect for dust, sticky residue, corrosion, bent parts, and foreign material before cleaning.
- Use a clean, dry microfiber cloth on the plastic shell.
- Do not blow into the cartridge or console slot.
- Do not spray cleaner directly onto a cartridge.
- For contacts, follow the guidance for that specific system. If the official method is unavailable or the contacts are corroded, use a qualified repair service.

Start with inspection, not chemicals
Nintendo's current handling guidance for the Game Boy family, Nintendo DS family, and cartridge-based home consoles says to switch the system off before inserting or removing a game and to check the connector for foreign material. That first inspection can prevent a dirty or damaged cart from carrying debris into a clean console slot.
Use bright, indirect light. Look at the shell seam, label edges, connector opening, and exposed contact edge. If you see a bent connector, green or white corrosion, liquid residue, a swollen shell, or loose parts rattling inside, stop. Those are repair issues rather than routine surface cleaning.
Before blaming the cartridge, test the system with a known-good, clean game if one is available. If several clean games fail in the same console, the console slot may need professional attention. Do not repeatedly insert a visibly contaminated cart to see whether it starts working.
How to clean the plastic shell
Wipe the hard plastic with a clean, dry microfiber cloth. Work from the center of the shell toward the outside so dust is not pushed into the connector opening. For molded grooves, fold the cloth into a narrow edge and use light pressure.
Keep the cloth away from fragile paper labels when possible. Do not saturate the shell, run liquid along the seam, or scrub printed areas. Sticker residue, permanent-marker ink, and discoloration may be annoying, but aggressive removal can lift the original label, soften ink, dull textured plastic, or leave a collector copy looking worse.

Contacts need system-specific care
This is where internet advice often becomes too broad. Nintendo's maintenance instructions for Nintendo DS and New Nintendo 3DS family game cards specifically warn against alcohol, benzene, paint thinner, and other solvents. The same pages also say not to touch the connectors, blow on them, or allow them to become wet or dirty.
Older Game Paks are physically different. Nintendo's Game Boy precautions direct owners to a Game Boy Cleaning Wand for dirt in the Game Pak connector. That historical recommendation points to a useful principle: use a dry tool designed for the specific connector instead of improvising with household chemicals or an abrasive.
If you do not have a verified, system-appropriate cleaning tool, stop after the dry exterior clean. A repair shop can inspect the contacts and board without gambling on a one-size-fits-all solvent recipe. Never push metal objects, sandpaper, pencils, or abrasive erasers into the connector area.
Why blowing into a cartridge is a bad habit
Blowing may appear to fix an unreliable game because removing and reinserting the cart also changes how its contacts sit against the console connector. The moisture in breath can instead leave contamination where clean, dry contact is needed. Nintendo's DS and New Nintendo 3DS maintenance guidance explicitly tells users not to blow on game-card connectors.
If reinsertion temporarily helps, treat that as a sign to inspect the cartridge and console rather than a reason to keep blowing. Repeated force and contaminated contacts can turn an intermittent problem into wear on both sides of the connection.
Do not open a cartridge casually
A cartridge can contain more than a simple board. Depending on the game, it may include memory, special chips, and a battery used for saves or other functions. Opening the shell also brings tools close to the label and security screws, and an incorrect screw bit can strip the fastener or crack a post inside the shell.
Collectors should also consider originality and condition. A damaged label, mismatched shell, missing screw, or evidence of rough opening can affect how a copy is evaluated. If the cartridge needs a battery replacement, trace repair, corrosion treatment, or internal cleaning, use a technician who can document the work and preserve the original parts when practical.

Test only after everything is clean and dry
After the exterior is clean, inspect the connector once more. Confirm that no fibers, debris, or moisture remain. With the console powered off, insert the cartridge normally without rocking or forcing it. Then power on and test.
If the game still fails, record what happens: blank screen, intermittent boot, corrupted graphics, save failure, or a system error. That symptom helps a repair technician distinguish a contact problem from a board, chip, or battery issue. Stop repeated testing if the cartridge becomes warm, smells unusual, or causes the console to behave differently from known-good games.
Quick cartridge-care checklist
| Situation | Safe first move | When to stop |
|---|---|---|
| Dust on the shell | Dry microfiber cloth with light pressure | If the label begins to lift or ink transfers |
| Debris near the connector | Inspect under bright light and use only a verified system-specific tool | If debris is embedded, sticky, or metallic |
| Dirty DS or 3DS game-card contacts | Follow Nintendo's no-solvent guidance and avoid touching or blowing | If dry inspection does not resolve the problem |
| Corrosion, bent contacts, or liquid damage | Isolate the cartridge and seek qualified repair | Immediately |
| Several games fail in one console | Test a known-good clean cartridge once | If the console still fails |
Zypher shop recommendations: four cartridge formats to know
- Super Mario Bros. / Duck Hunt for NES: a classic full-size front-loading cartridge.
- Super Mario World for SNES: a useful example of the later Nintendo home-console shell.
- Tetris for Game Boy: a compact handheld cartridge with a closely spaced label and connector opening.
- Sonic the Hedgehog 2 for Game Gear: a Sega handheld format with its own shell and connector design.
Availability and condition options can change, so the product pages are the current source of truth.
Keep learning with Zypher XP
- How to Spot a Fake Retro Game Cartridge
- How to Store Retro Video Games Safely
- Complete in Box vs. Game, Case and Manual vs. Loose
Media credits
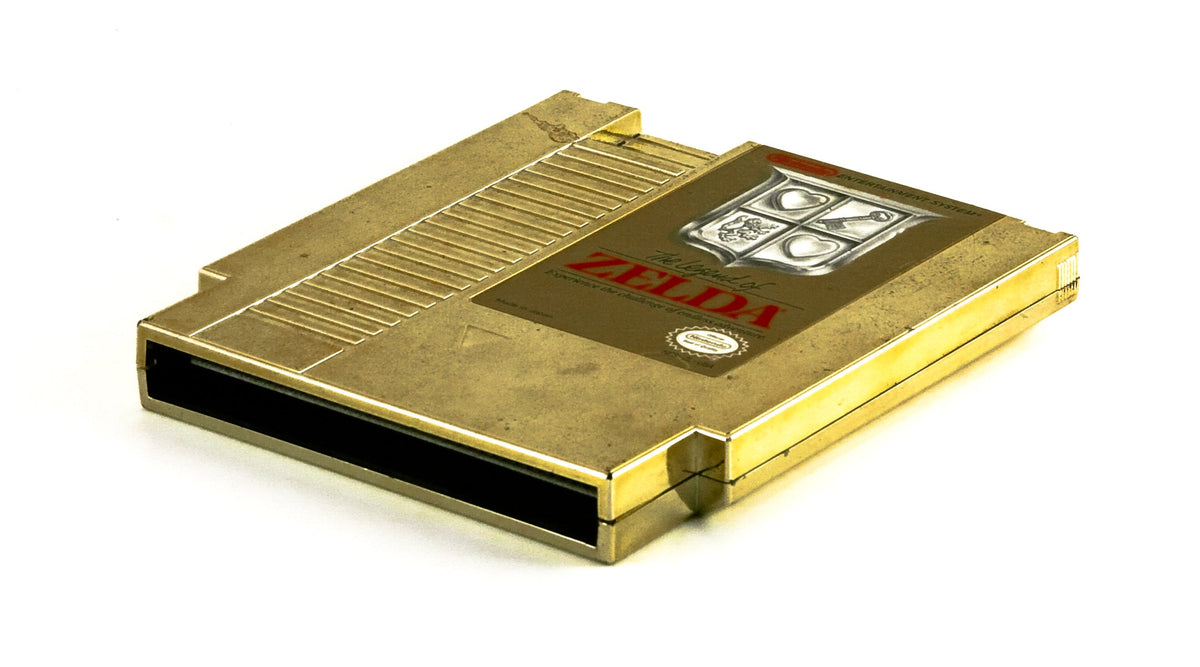
- Featured image: The Legend of Zelda gold NES cartridge, photo by Dave or Atox, CC BY 2.0, via Wikimedia Commons. No changes made.
- Space Harrier Sega Master System cartridge: photo by Evan-Amos, public domain, via Wikimedia Commons.
- Game Boy with Tetris cartridge: photo by Michel Ngilen, CC BY 2.0, via Wikimedia Commons. No changes made.
- NES Tetris cartridge board: photo by Evan-Amos, public domain, via Wikimedia Commons.
Sources
- Nintendo DS and Nintendo DS Lite maintenance and precautions
- New Nintendo 3DS XL maintenance and precautions
- Game Boy family maintenance and precautions
- Cartridge-based Nintendo console maintenance and precautions
Zypher XP checked the linked Nintendo guidance and image permissions on October 5, 2026. Product links point only to current Zypher Trading Video Games listings.